Flick: Quick Start Guide
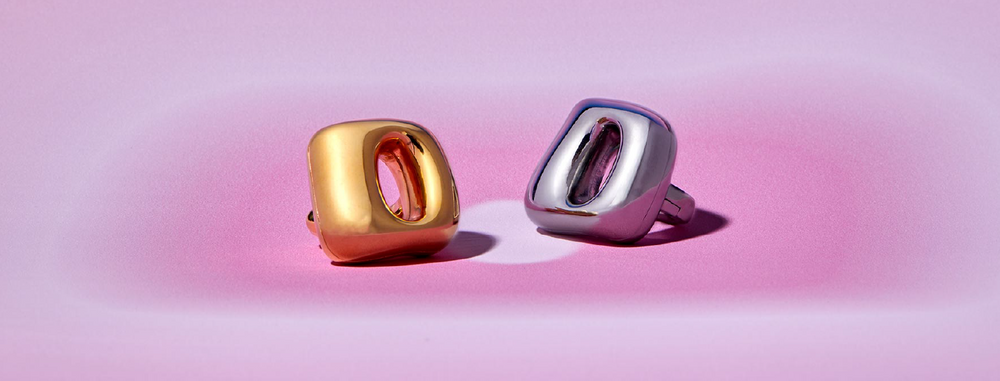
So you’ve bought a Flick! First of all, YAY! Secondly, welcome — we’re so excited to put this out into the world and into your hands. Every vibrator we make comes with a booklet, and most of the info below is in that booklet. However, we thought it might be helpful to add a lil’ something to the site with some additional photos and gifs for our visual learners. Even if you don’t have a Flick, this can be a helpful resource if you’re considering one.
Table of contents
- What comes in the box
- Powering on/off, cycling through speeds and patterns
- Charging
- Changing bands
- How to wear/hold
- Care instructions
What comes in the box

Your Flick order should contain the following elements: Flick Vibrator ring, Unbound Universal Charging Cable, four total ring bands (size 6-7 preinstalled on the ring), two extra screws, a screwdriver, instruction booklet, and storage bag for your Flick.
Powering on/off, cycling through speeds and patterns

To turn Flick on, hold the power button for 3 seconds. To cycle through Flick’s 3 speeds and 2 patterns, press the power button again until you reach your desired setting. To turn Flick off, hold the power again for another 3 seconds.
Charging

In order to charge your Flick, remove the ring and locate the Unbound Universal Charger in the box Flick came in. Connect the charger to the magnetic charging nodes on the vibe and give it a full charge. The light indicators should blink as Flick is charging. After it’s fully charged, the light indicators turn solid.
Changing bands
Flick comes with 4 interchangable bands that cover sizes 4-11, with sizes 6-7 pre-installed on the band. If you want to size up or down, you can remove and replace your band following these steps below:
Have ready:

- Your screw driver
- The desired band you want to switch to
- A backup screw (just in case!)
Also, work on a flat, uncluttered surface in case you drop your screw. Those can be hard to find (and you only have 2 extra)!

To change your Flick band:
- Take your screwdriver and begin unscrewing (turning counterclockwise) the joint that holds the band to your Flick
- The screw does not need to be completely removed to take off the band. Unscrew it about 1/2 of the way, and the band will come off.
- Take your new band, and align it with the body of the ring, and screw clockwise to tighten
- Do not over tighten or press too hard while turning, and you may strip the screw and have difficulty removing it later
- TIP: stabilize the screw while changing out bands by pressing on the opposite side of the ring band to keep everything in place.
How to wear during use
Thanks to Flick’s four interchangeable bands, we know that Flick can be worn on almost any finger. But how exactly do we wear it during use? Try these examples below as a jumping off point and see what you like best.

- Flick turned around on inside of finger (near fingertip)
- Flick turned around on inside of finger (near palm)
- Holding Flick by band
How to style

Flick can be worn alone as a statement ring, or in a stack with your fave jewelry — there’s really no wrong way to style a Flick, so wear it in the way that best represents YOU. However, in the off chance you’re feeling uninspired, check out these examples below on how you can incorporate Flick in your day-to-day (or special occasion!) style.
Care instructions
We recommend cleaning your Flick before and after each use. In order to clean Flick, rinse your ring with warm water and soap. Dry off Flick with a soft cloth until completely dry. Do not boil the product. Please be sure not to use any abrasive cleaners or cleaning pads that contain any small particles that can scratch the surface of your Flick ring.
Flick’s outer surface is finished with precious metals such as Palladium, Titanium, and 24K Gold. Just like any other jewelry, keeping Flick’s surface clean and dry (when not in use) will help extend the life and quality of the vibe and surface. Over time, some surface discoloration may occur due to exposure to sweat, water, and other elements.

Latest Articles

A Hot and Quick Guide to BV, UTIs, and Yeast Infections

9 Acts of Queer Resistance to Know in Addition to the Stonewall Riots

